A Homeowner's Guide to Stainless Steel Chimney Liner Installation
A safe and efficient chimney is a cornerstone of a cozy home, especially when the weather turns chilly. One of the most critical components for ensuring that safety and efficiency is the chimney liner. Over time, original clay tile liners can crack and deteriorate, creating potential hazards. Here at Select Chimney Services, we often recommend a stainless steel chimney liner installation as a durable, long-lasting solution. This guide will walk you through what to expect during the installation process, helping you understand why it's a smart investment for your home.
Why Choose a Stainless Steel Chimney Liner?
Before diving into the installation process, it's important to understand the benefits of a stainless steel liner. These liners are highly durable and resistant to corrosion from the acidic byproducts of combustion. They create a seamless, insulated pathway for smoke and gases to exit your home, which significantly improves safety by preventing heat transfer to combustible materials and stopping dangerous gases like carbon monoxide from leaking into your living spaces. Furthermore, a properly sized stainless steel liner can improve the energy efficiency of your heating appliance, leading to better performance and potentially lower fuel costs.
The Stainless Steel Chimney Liner Installation Process: A Step-by-Step Overview
While the specifics can vary depending on your chimney's unique structure, a professional stainless steel chimney liner installation generally follows these key steps. For safety and to ensure compliance with local building codes, we always recommend hiring a certified professional for this job.
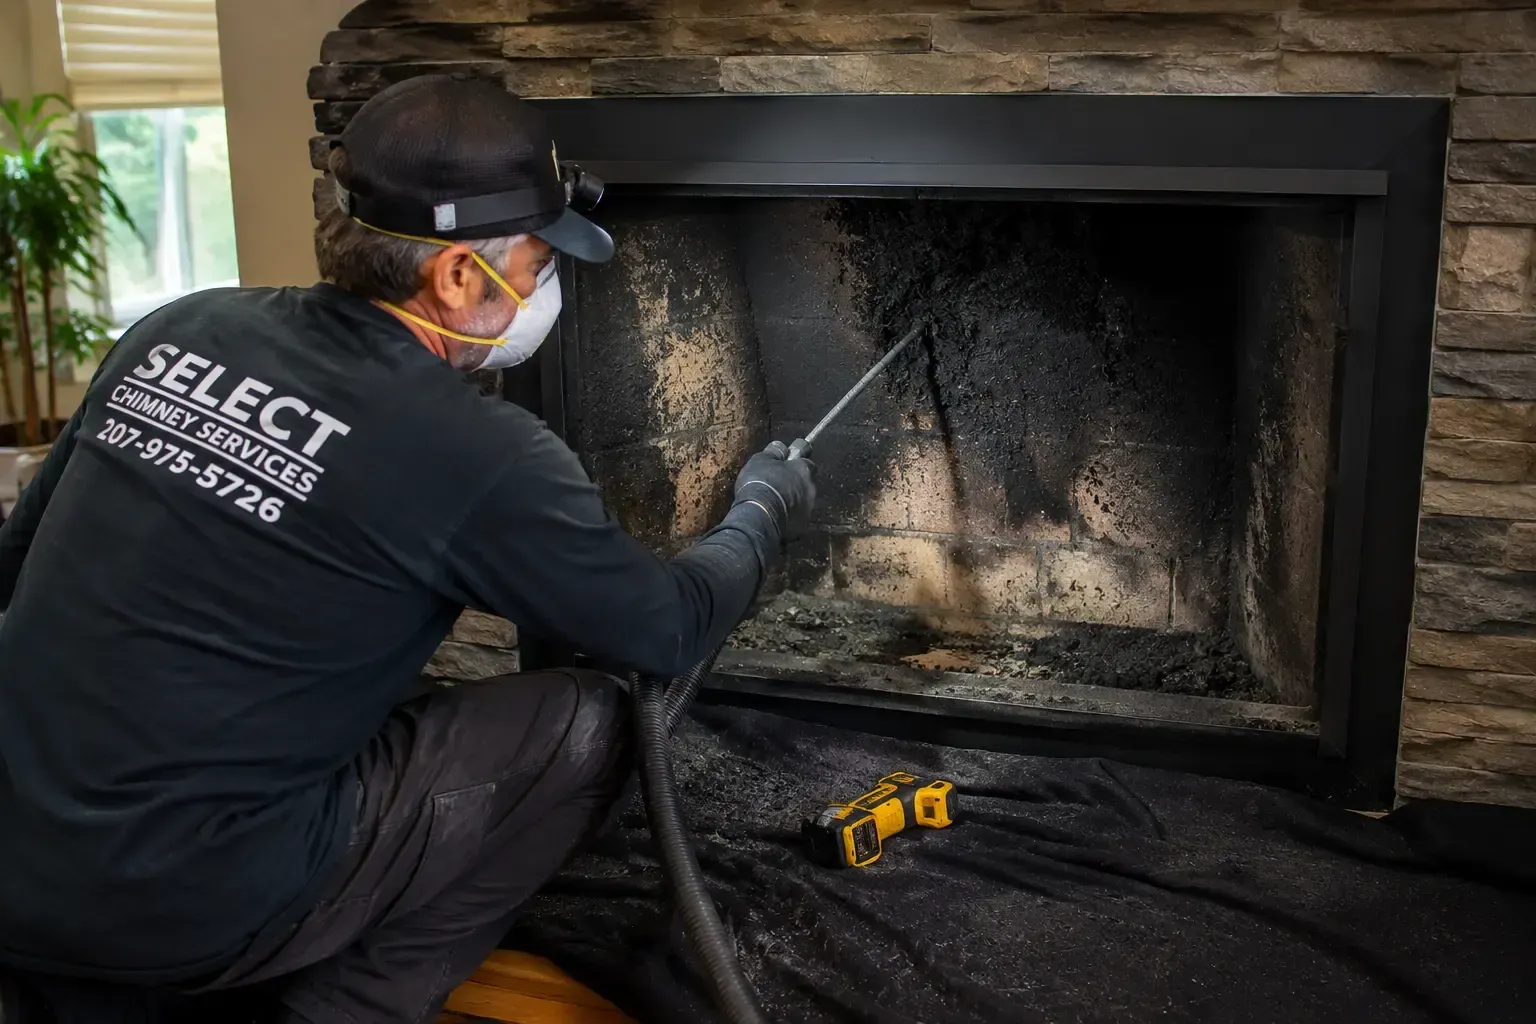
Step 1: Thorough Chimney Inspection
The first step is always a comprehensive inspection. A professional will assess the current condition of your chimney, both inside and out. This includes checking for any existing blockages, structural issues, or damage to the masonry. They will also take precise measurements of your chimney's height and flue dimensions to ensure the new liner is a perfect fit.
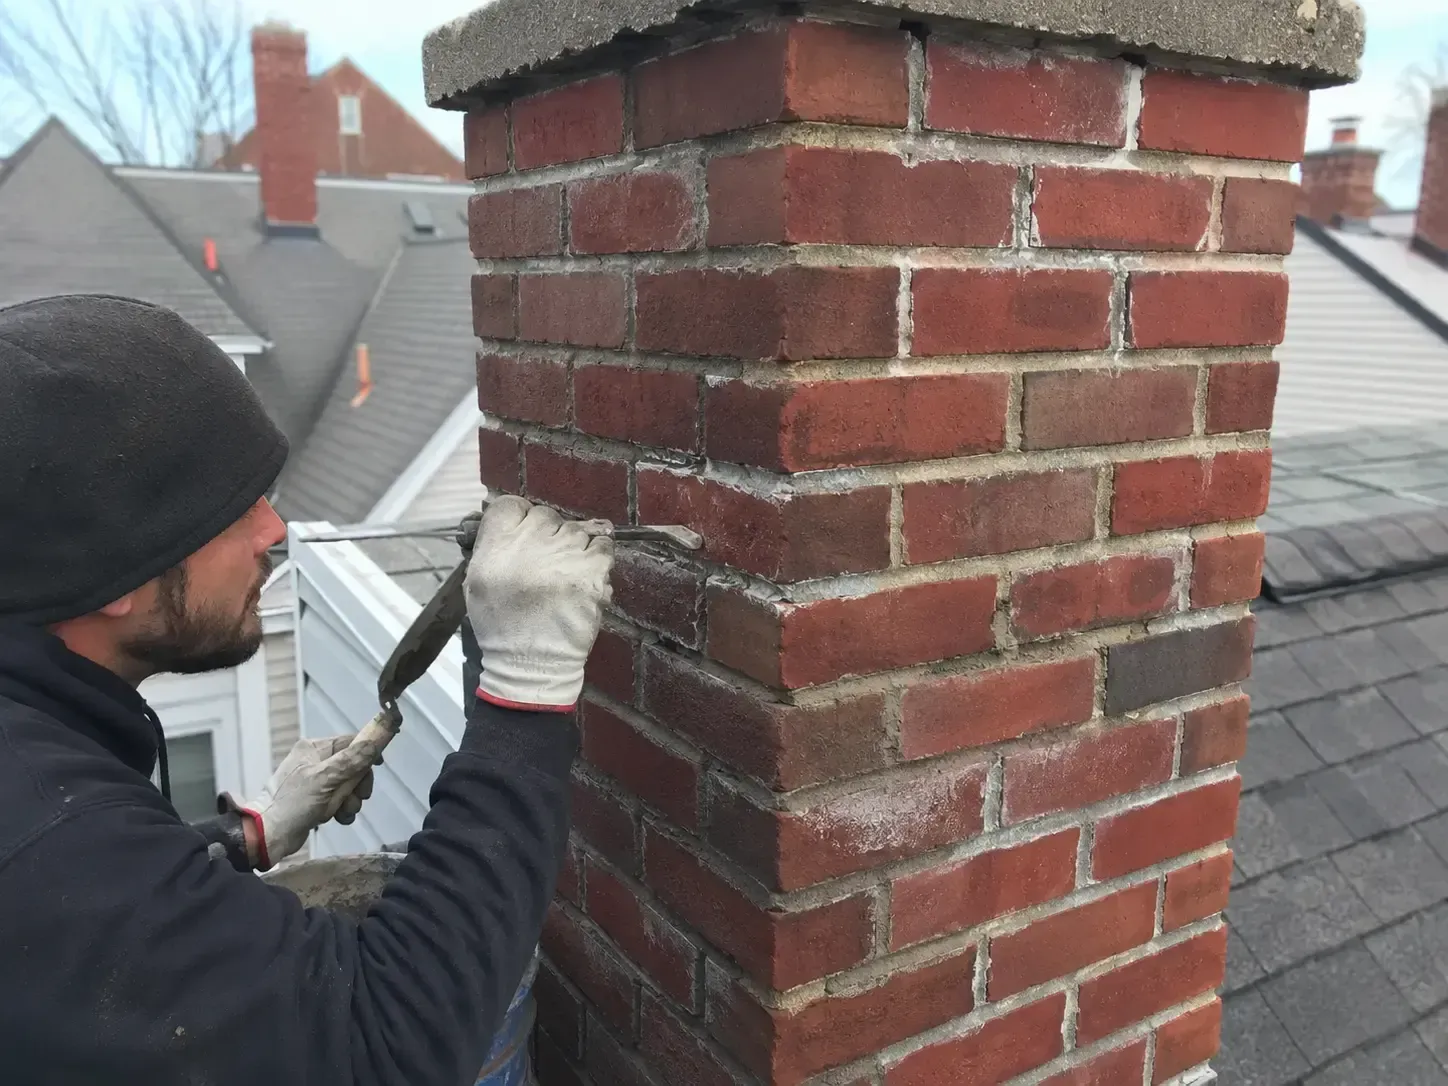
Step 2: Preparing the Chimney
Once the inspection is complete, the chimney must be thoroughly cleaned to remove any creosote, soot, and debris. This is a crucial step for safety and to ensure the liner can be installed correctly. Any necessary repairs to the chimney structure, such as fixing cracks in the masonry, will also be addressed at this stage.
Step 3: Assembling and Insulating the Liner
The stainless steel liner, which is often flexible to navigate bends in the chimney, is prepared for installation. Insulation is typically wrapped around the liner. This is a vital part of the process as insulation helps maintain a higher temperature within the flue, which improves draft and reduces the buildup of creosote, a flammable substance. The insulation is secured with wire mesh and high-temperature foil tape.
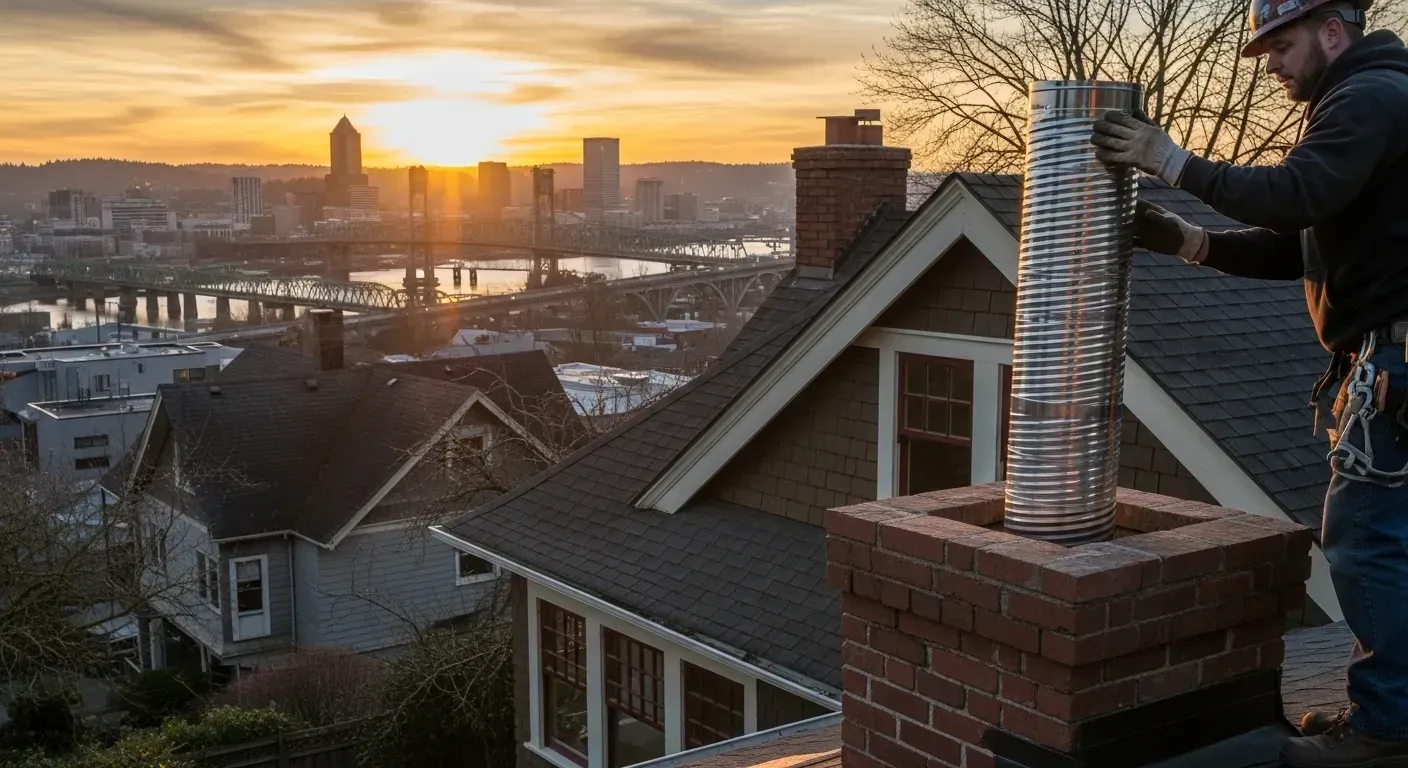
Step 4: Inserting the Liner
This is where the expertise of a professional really shows. The liner assembly is carefully lowered down the chimney from the roof. For installations connecting to an appliance like a wood stove, a tee connection is often attached to the bottom of the liner before it's inserted. A rope and cone are sometimes attached to the end to help guide it past any offsets or rough spots in the flue.
Step 5: Securing the Top and Bottom Connections
After the liner is in place, the top components are installed. A top plate is secured to the chimney crown, and the liner is attached to it, bearing its weight. A rain cap is then fitted to the top of the liner to keep rain, animals, and debris out of your chimney. At the bottom, the liner is connected securely to your heating appliance, ensuring a sealed system from the appliance to the top of the flue.
Step 6: Final Inspection
Once the installation is complete, a final inspection is performed to ensure everything is properly sealed, secured, and functioning correctly. This guarantees the safety and efficiency of your newly lined chimney, giving you peace of mind.
Protect Your Home with a Professional Installation
A stainless steel chimney liner installation is a significant upgrade to your home's safety and heating efficiency. While it might be tempting to consider a DIY approach, the complexities and safety risks involved make professional installation the wisest choice. Adhering to standards set by organizations like the National Fire Protection Association (NFPA) is crucial for safety and code compliance.
At Select Chimney Services, our experienced technicians have the knowledge and tools to ensure your new liner is installed correctly and safely. If you have questions about your chimney or are considering a new liner, don't hesitate to reach out. Contact Select Chimney Services today at (207) 975-5726 to schedule an inspection and ensure your chimney is ready to keep your family warm and safe for years to come.
Frequently Asked Questions
How long does a stainless steel chimney liner last?
The lifespan of a stainless steel chimney liner can vary depending on the quality of the steel and proper maintenance, but high-quality liners can last from 15 to 20 years or even come with a lifetime warranty.
Do I need to have my chimney cleaned if I have a stainless steel liner?
Yes, absolutely. While stainless steel liners can reduce the amount of creosote buildup compared to masonry, they still require annual inspection and cleaning to ensure they are free of flammable deposits and are functioning safely.
Is a chimney liner always required?
While building codes can vary, a chimney liner is highly recommended for safety and performance. Many modern heating appliances require a properly sized liner to function efficiently and safely, and organizations like the Chimney Safety Institute of America (CSIA) advocate for their use.